Posting a job on Indiedoers is a straightforward process that allows you to find the right talent for your projects. This guide will walk you through each step of creating a new job posting, from initiating the process to finalizing your project details.
Step 1: Accessing the Workspace
Navigate to your Indiedoers dashboard and click on the "Workspace" icon in the left sidebar. This will take you to your project management area.
Step 2: Creating a New Project
On the Workspace page, you'll see a "Create" button. Click this button to begin the job posting process.

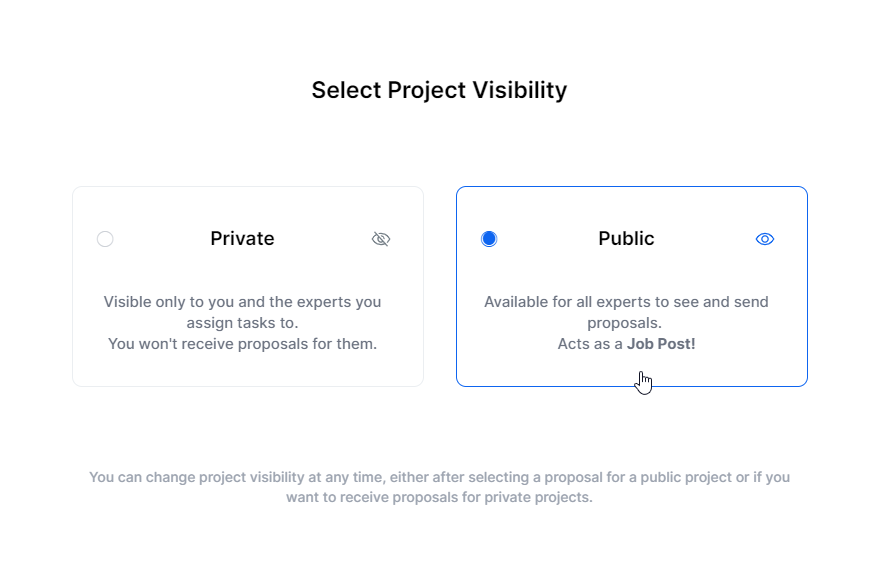
Step 3: Selecting Project Visibility
After clicking "Create," a popup will appear asking you to choose between "Private" and "Public" visibility for your project.
For posting a project as a JOB POST, make sure you select "Public" to make your job visible to all experts on the platform.

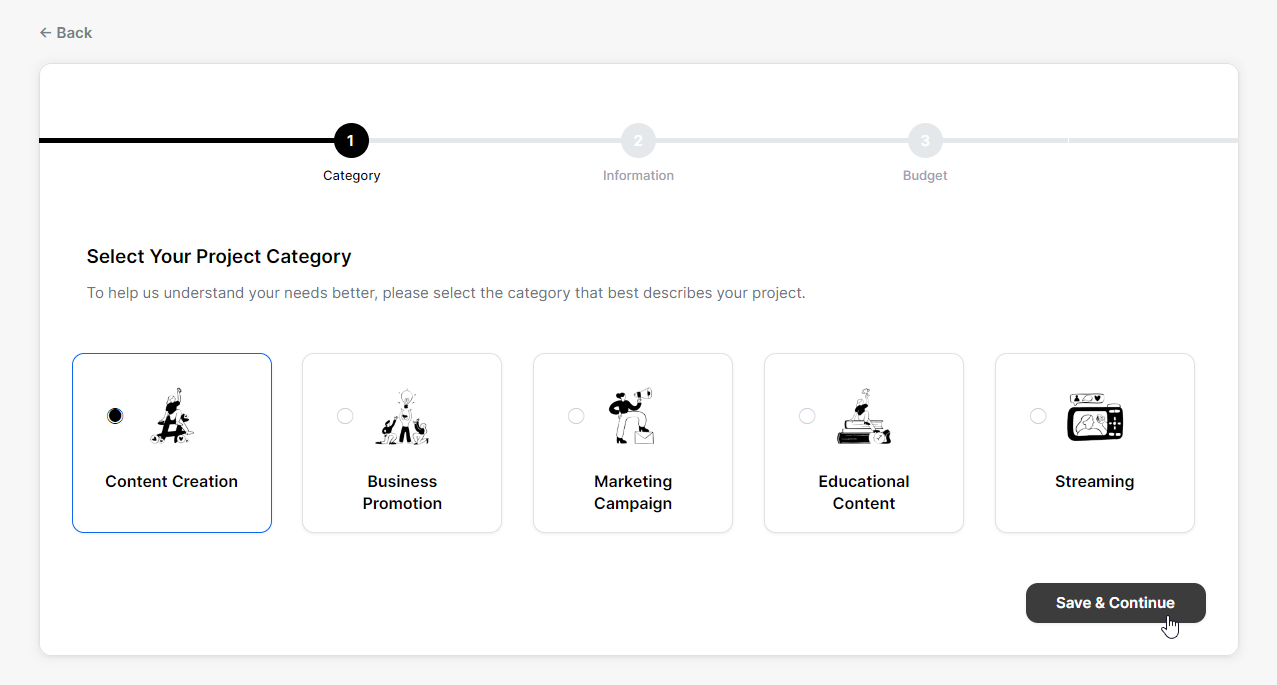
Step 4: Choosing a Project Category
The next screen will prompt you to select a category for your project. Options include Content Creation, Business Promotion, Marketing Campaign, Educational Content, and Streaming. Choose the category that best fits your project needs.

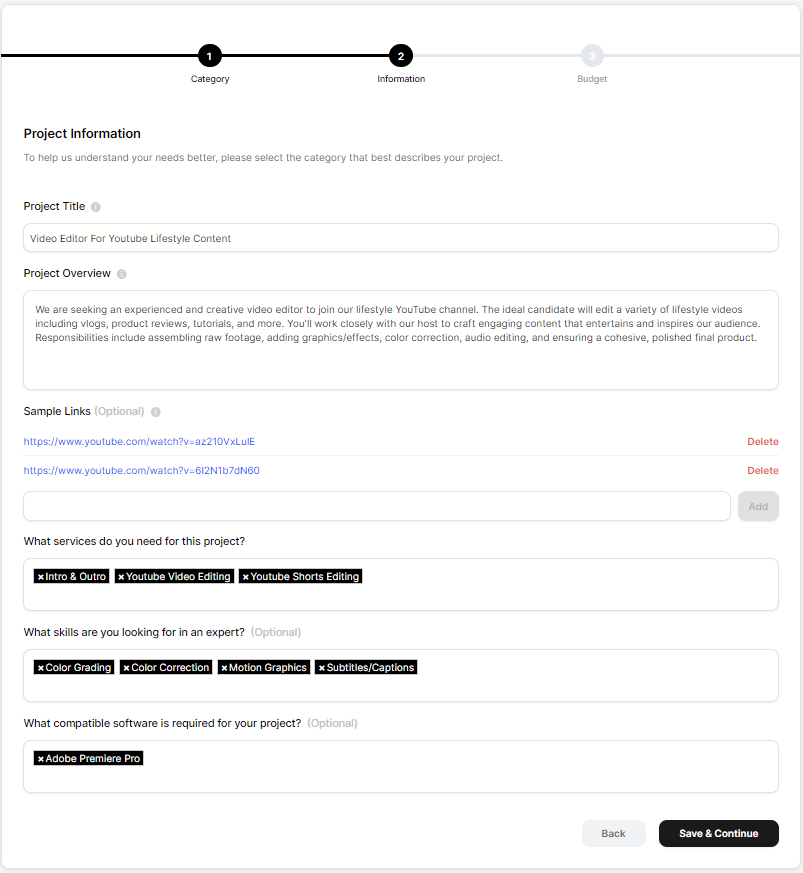
Step 5: Filling in Project Information
On the following page, you'll need to provide detailed information about your project:
- Enter a Project Title
- Write a Project Overview
- Add Sample Links (optional)
- Select required services
- Specify desired skills
- Indicate compatible software requirements

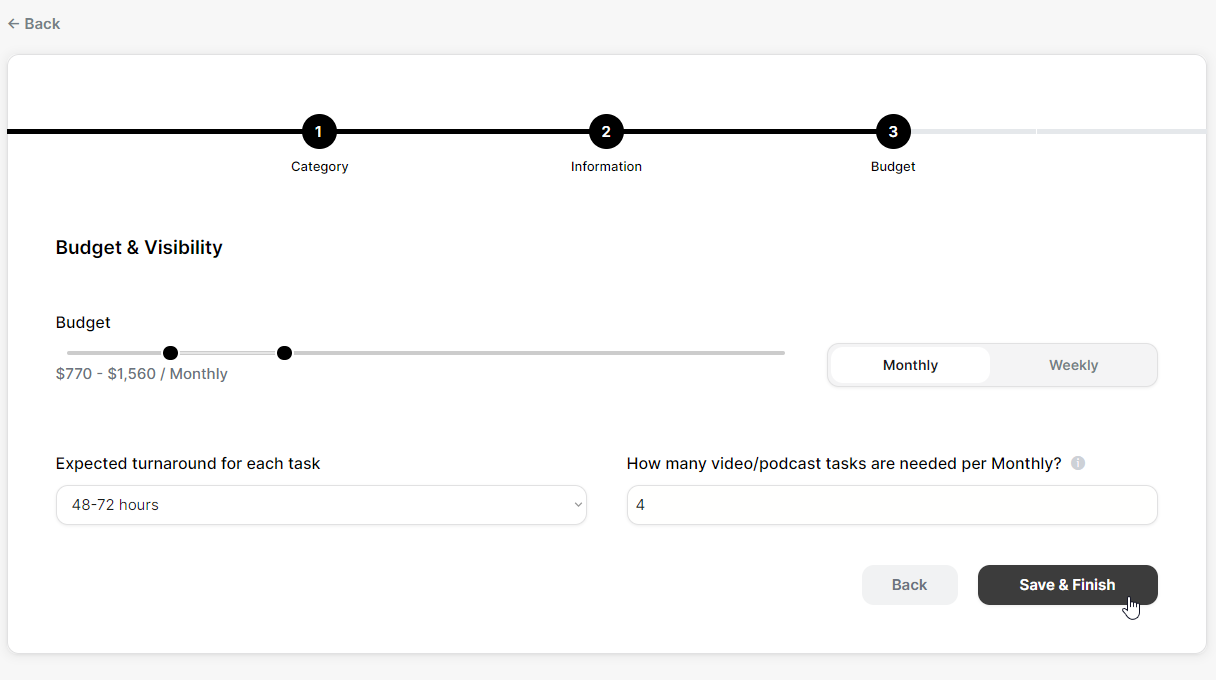
Step 6: Setting Budget and Timeline
The final step involves setting your project's budget and timeline:
- Use the slider to set your budget range
- Choose between Monthly or Weekly billing
- Specify the expected turnaround time for each task
- Indicate how many tasks are needed per month

Step 7: Finalizing Your Job Posting
Review all the information you've entered. If everything looks correct, click "Save & Finish" to publish your job posting.